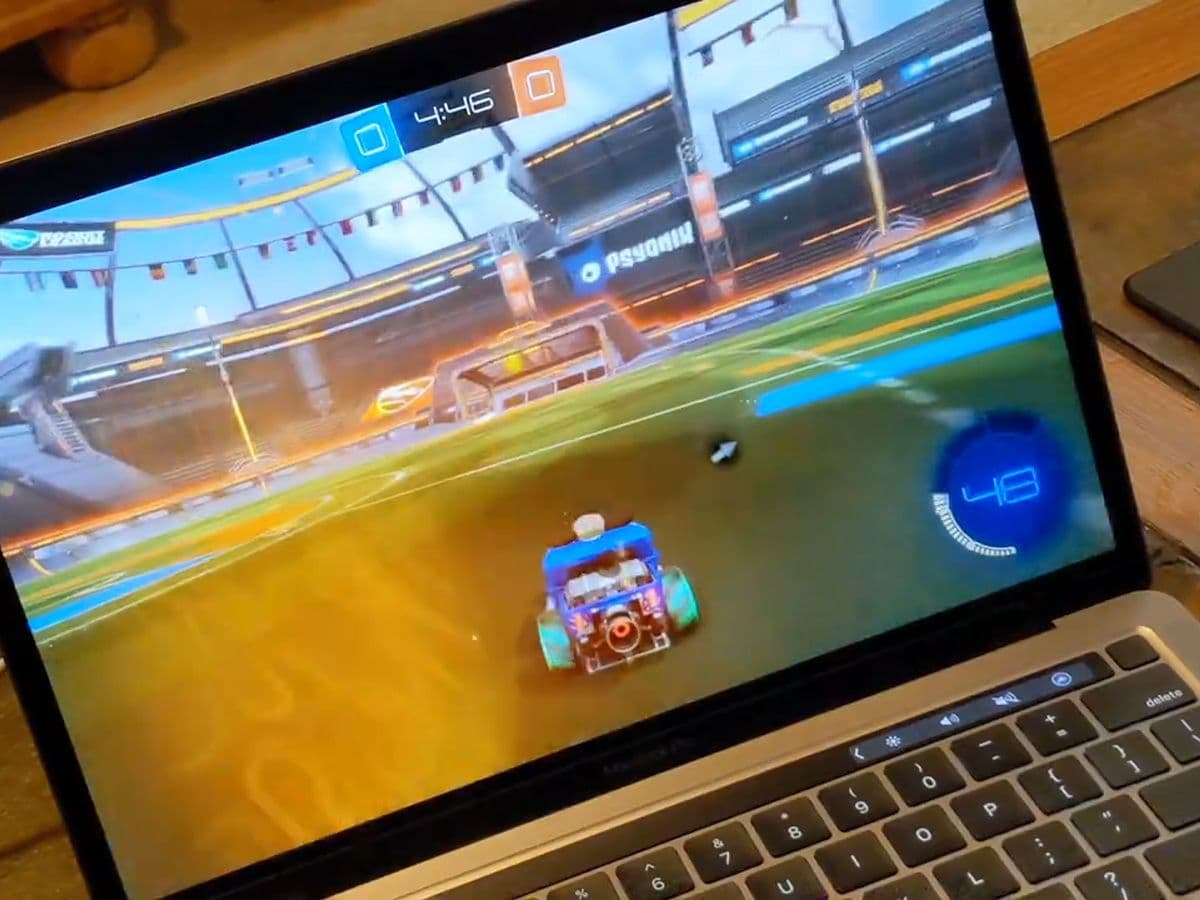
How to play Rocket League on Macbook: 2 easy methods to try
Have a Macbook but want to try Rocket League? Here's how to do just that.Want to learn how to play Rocket League on your MacBook? We should give you the bad news first, although Rocket League is available for Steam on Windows, the popular game is no longer officially supported on Mac.
Can you play Rocket League on Mac?
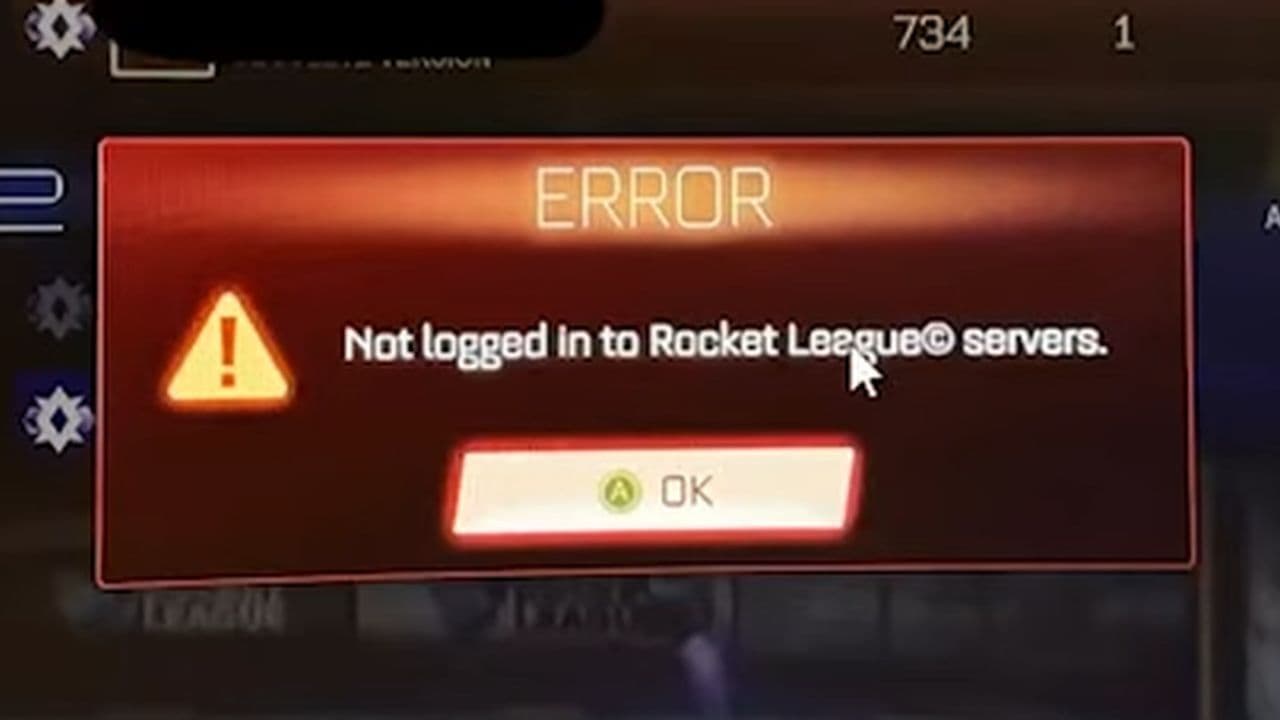
Don’t worry—you can still enjoy the game with a few extra steps with less features. Although the official support for Rocket League on macOS has ended, you can use tools like Parallels Desktop or Boot Camp to run the Windows version of the game. However, you can’t use online features, but you can still enjoy offline modes such as:
- Local Matches
- Split-Screen Play
- Garage/Inventory
- Career Stats
- Replays
- Steam Workshop Maps (if downloaded before the final patch)
- Custom Training Packs (if downloaded before the final patch)
Online features such as matchmaking, tournaments, and the item shop are no longer accessible.
How to play Rocket League on MacBook
Here’s a detailed guide on how to get Rocket League running on your Mac:
Method 1: Playing Rocket League with Parallels Desktop
Parallels Desktop allows you to run a Windows virtual machine on your Mac, letting you play games that aren't natively supported on macOS. Here’s a step-by-step guide to get you started:
- Install Parallels Desktop
- Download and install: Visit the Parallels website and download the latest version of Parallels Desktop. For gaming, the Pro or Business editions are recommended for their superior performance and features.
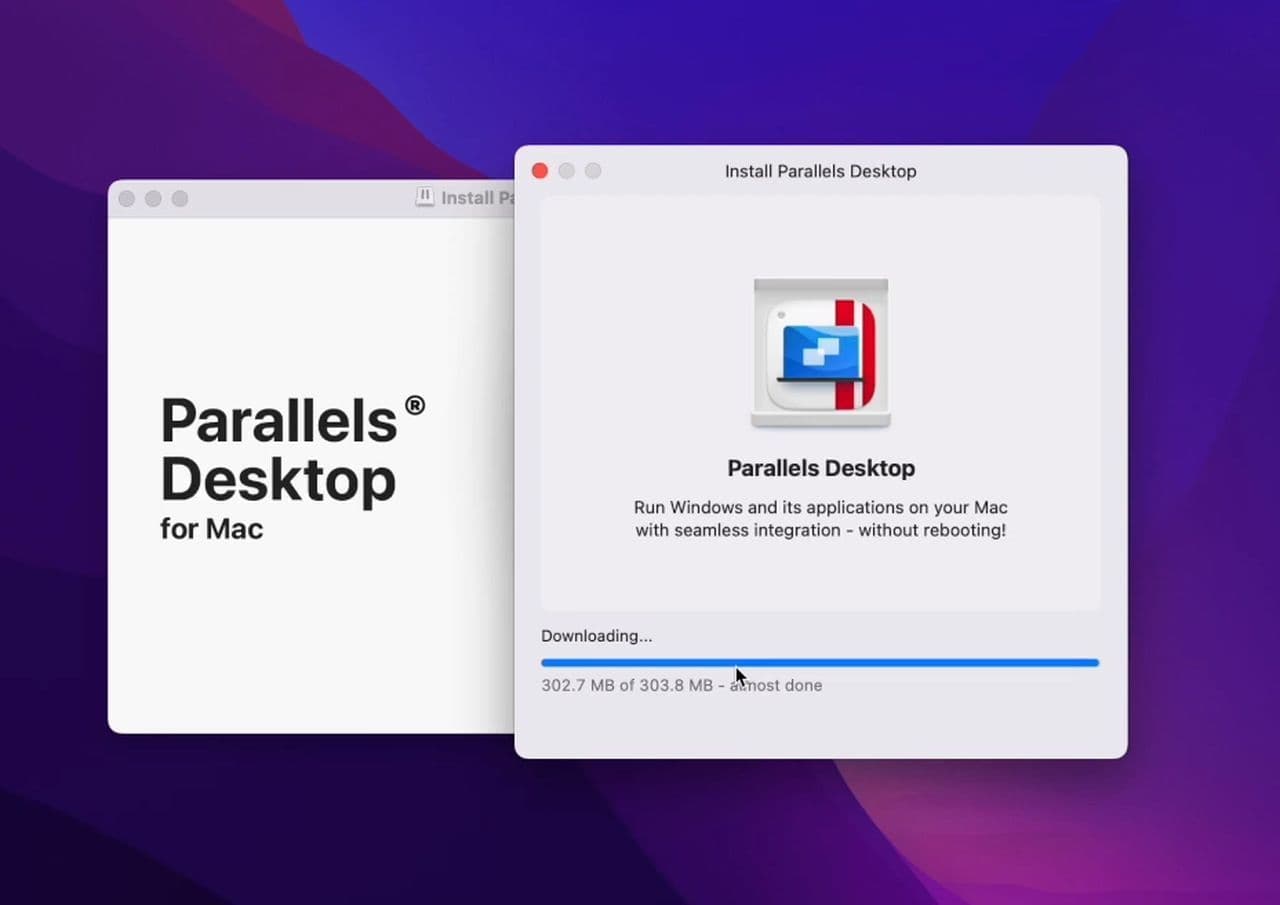
- Set Up: Follow the installation prompts to get Parallels Desktop running on your Mac.
- Create a Windows 11 Virtual Machine
- Launch Parallels Desktop: Open Parallels Desktop and choose to create a new virtual machine.
- Install Windows 11: Follow the on-screen instructions to install Windows 11. You will need a Windows license to activate your virtual machine.
- Configure Virtual Machine Settings
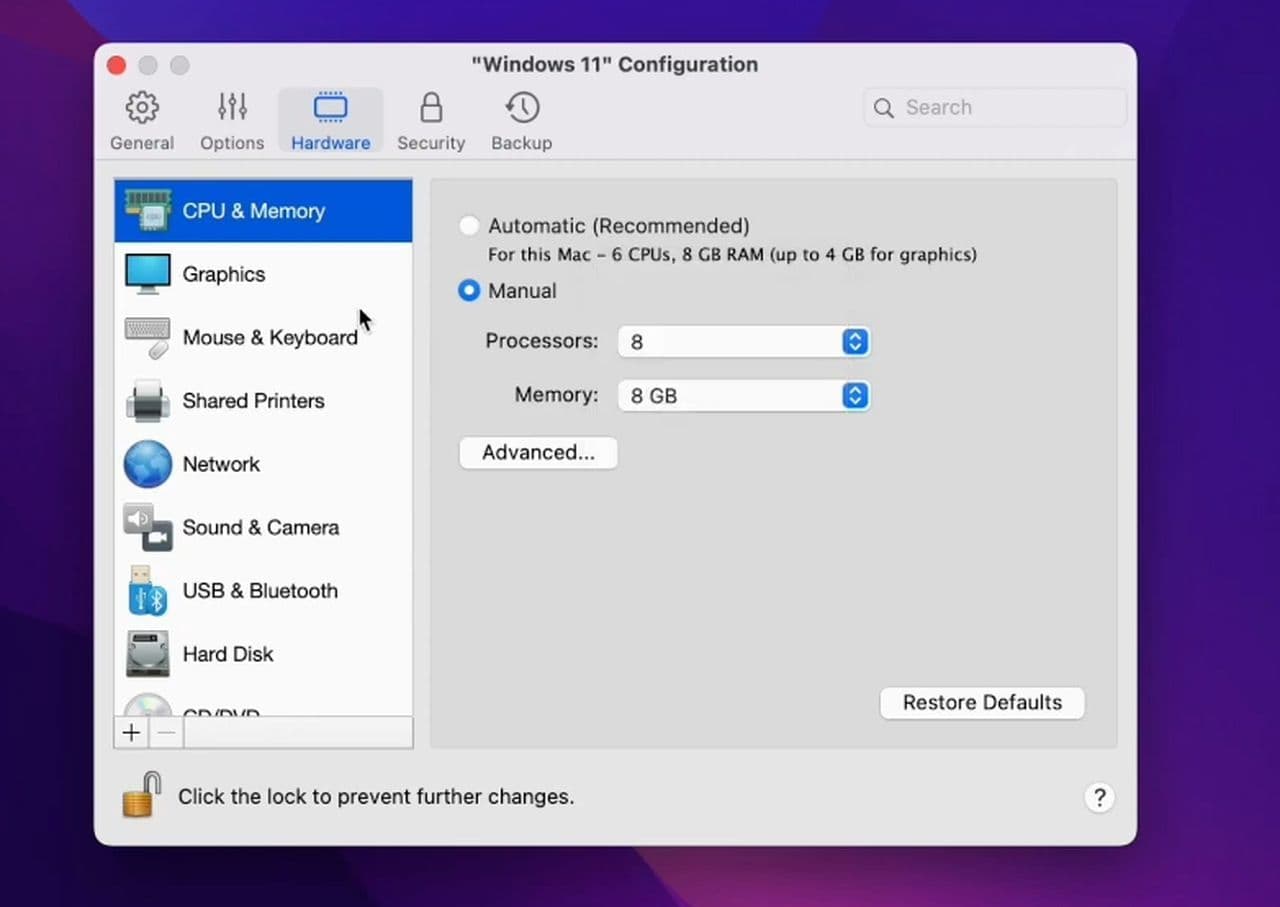
- Access settings: In Parallels Desktop Control Center, select your Windows virtual machine and go to the “Hardware” section.
- Optimize for gaming: Allocate ample RAM, CPU, and GPU resources to the virtual machine. Enable the Gaming Profile for better performance, which provides additional RAM and CPU power and optimizes full-screen mode and mouse compatibility.
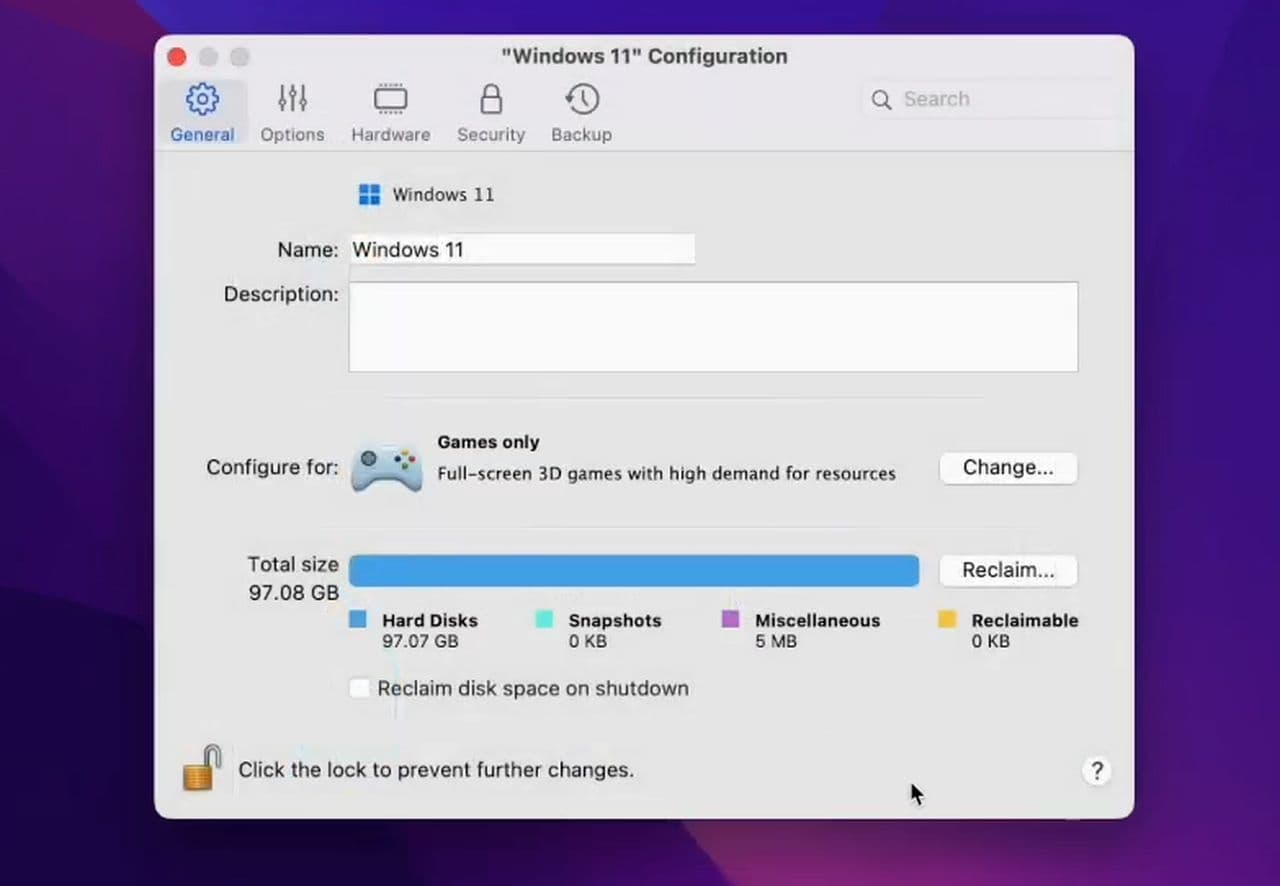
- Enable gaming profile: Shut down Windows, go to its configuration, select “Change” under the Gaming Profile, and choose “Games only” to apply the settings.
- Install Rocket League
- Download and install: Once your Windows virtual machine is set up and optimized, download Rocket League from Steam or the Epic Games Store and install it as you would on a regular Windows PC.
- Play Rocket League
- Launch the game: Open Rocket League from your Windows virtual machine and start playing. Enjoy full functionality with no significant compromises.
Method 2: Playing Rocket League with Boot Camp
Boot Camp allows you to install Windows alongside macOS on your MacBook. This method provides a more native Windows experience, which can be beneficial for gaming.
- Prepare for installation
- Check requirements: Ensure your MacBook has sufficient storage space and meets the minimum requirements for Windows 10 or 11.
| Requirement | Minimum |
|---|---|
| OS | Windows 7 (64-bit) or Newer (64-bit) Windows OS |
| Processor | 2.5 GHz Dual Core |
| Graphics | NVIDIA GeForce GTX 760, AMD Radeon R9 270X, or better |
| DirectX | Version 11 |
| Network | Broadband Internet Connection |
| Storage | 20 GB available space |
| Memory | 4 GB RAM |
- Backup Data: It’s a good idea to back up your data before partitioning your drive.
- Install Windows Using Boot Camp
- Open Boot Camp Assistant: Go to Applications > Utilities > Boot Camp Assistant.
- Create partition: Follow the prompts to create a partition for Windows. You’ll need a Windows installation ISO and a valid Windows license.
- Install Windows: Boot Camp Assistant will guide you through the process of installing Windows on the new partition. Follow the instructions to complete the installation.
- Install Rocket League
- Boot into Windows: Restart your Mac and hold the Option key to select the Windows partition.
- Download and install: Once in Windows, download Rocket League from Steam or the Epic Games Store and install it.
- Play Rocket League
- Launch the Game: Start Rocket League from Windows and enjoy the game with full performance and compatibility.
Whether you’re using Parallels Desktop for a seamless Windows experience, or Boot Camp for native performance, there’s a way to enjoy Rocket League on your MacBook
Is Rocket League for Mac?
The answer is unfortunately no. As mentioned, Rocket League is not officially supported on macOS anymore. The macOS version of the game is no longer updated or maintained.
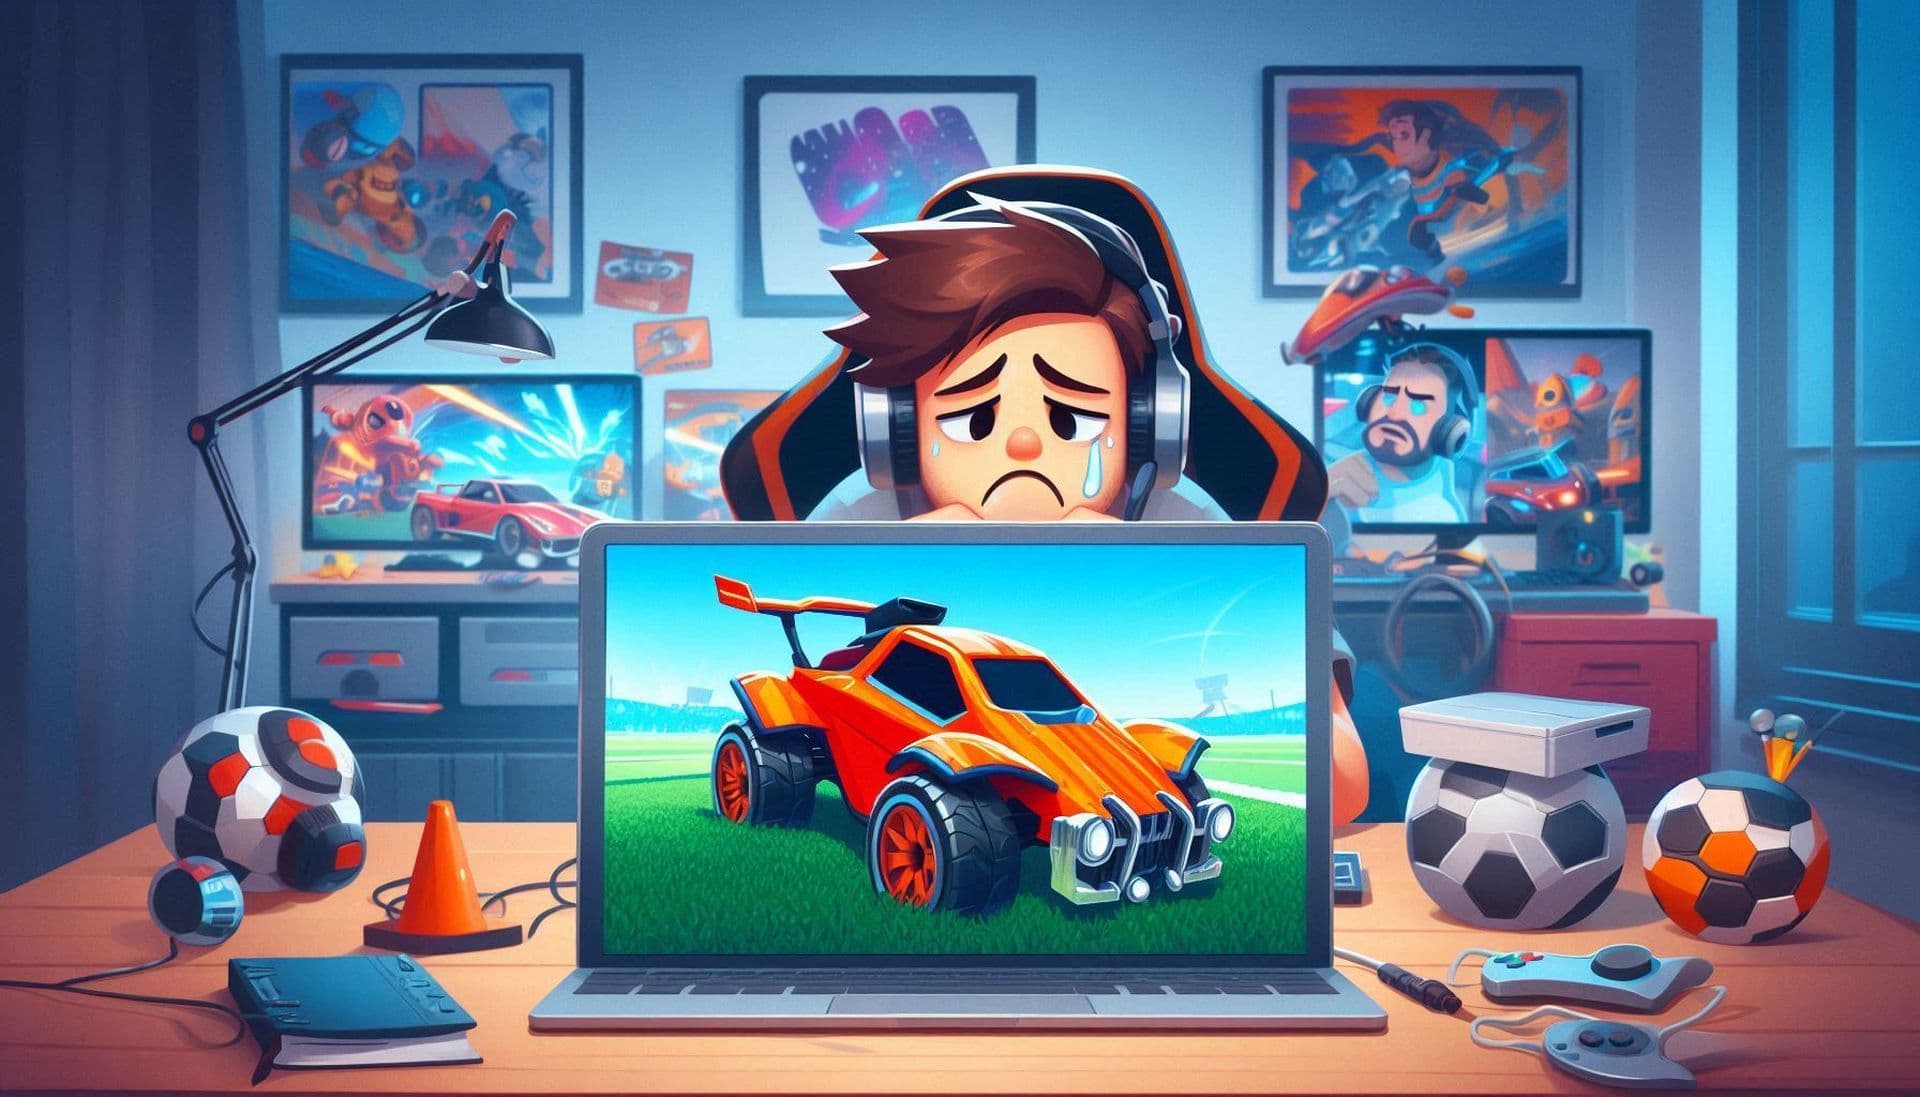
Although the game was available for Mac in the past, players may face issues with features and functionality as no new updates or support are provided.
Why is Rocket League no longer available on Mac?
Rocket League ended support for macOS and Linux in March 2020. According to the official farewell, the primary reason behind this decision was the increasing complexity of maintaining and updating the game across multiple platforms.
Does Epic Games work on Mac?
The Epic Games Store supports both PC and Mac. To check if a specific game is compatible with your platform, just look at the "Specifications" section on its product page.
Mac-compatible games on Epic Games Store
As of May 2025, the Epic Games Store offers a selection of macOS-compatible games. While the overall library is smaller compared to Windows, Mac users can still enjoy a variety of titles across different genres, such as:
- lbion Online – A sandbox MMORPG with a player-driven economy.
- Hoa – A beautifully hand-painted platformer.
- NAIAD – An atmospheric exploration game.
- RPG MAKER MZ – A tool for creating your own RPGs.
- Funselektor art of rally Collector's Edition Bundle – A stylized rally racing experience.
- Crimsonland – A top-down shooter with RPG elements.
- Valiants: Arena – A free-to-play action game.
- Tibia – A classic MMORPG.
- Satoria MMORPG – Another free-to-play MMORPG option.
You can visit the Epic Games Store Mac Games section for a detailed look.
Guide Categories
All Related Guides
- 1
- 2
- 3
- 4
- 5
